Solar Energy
Connectors for an affordable solar energy system for your home
Ene
If you want to enjoy an affordable solar energy system for your home, you must choose the equipment and accessories carefully. They should not only be cost-effective but also of high quality and durability.
Therefore, here we bring you the best proposal regarding the connectors you should acquire. This is a crucial element, often overlooked, whether you are dealing with cheap photovoltaic systems or not. Let’s explore what they are and why you should invest in the best ones.
Check out our post Solar panel and wiring for an affordable solar energy system for your homefor information on other equipment. Let’s get started!
Let’s talk about the equipment to power up
This cheap solar power system is designed with a 500 W panel, leaving a 20% reserve. Therefore, you will have around 400 W to connect devices.
Additionally, the loads to power cannot be inductive, in other words, they should not have an associated motor. Among them are refrigerators, washing machines, dryers, blenders, and others.
But you can connect the devices you use the most, such as TV, video games, computers, LED lights, and others. Obviously, you must ensure that their consumption is less than 400 W. Below, we provide an example by showing you a typical list of devices with their consumption.
- 1 TV: 100 W
- 1 WiFi Modem: 20 W
- 1 Laptop: 80 W
- 2 Cellphone chargers at 20 W each: 2 x 20 = 40 W
- 1 Video game: 100 W
- 5 Bulbs at 12 W each: 12 x 5 = 60 W
On the other hand, the reserve aims to anticipate temporary demand peaks from already connected devices. Also, remember that the panel only performs at its best on days with high solar incidence.
Then, the total will be:
PTOTAL = (100 + 20 + 80 + 40 + 100 + 60) W = 400 W
As you can see, this system will provide you with certain conveniences in case of a power outage. You can also use it to reduce your electricity bill without sacrificing your favorite pastimes.
Or as a power source for your trips and camping in places where you don’t have access to electricity.
The connectors for your affordable solar energy system
The same will depend on which end of the cable we are talking about. Let’s see
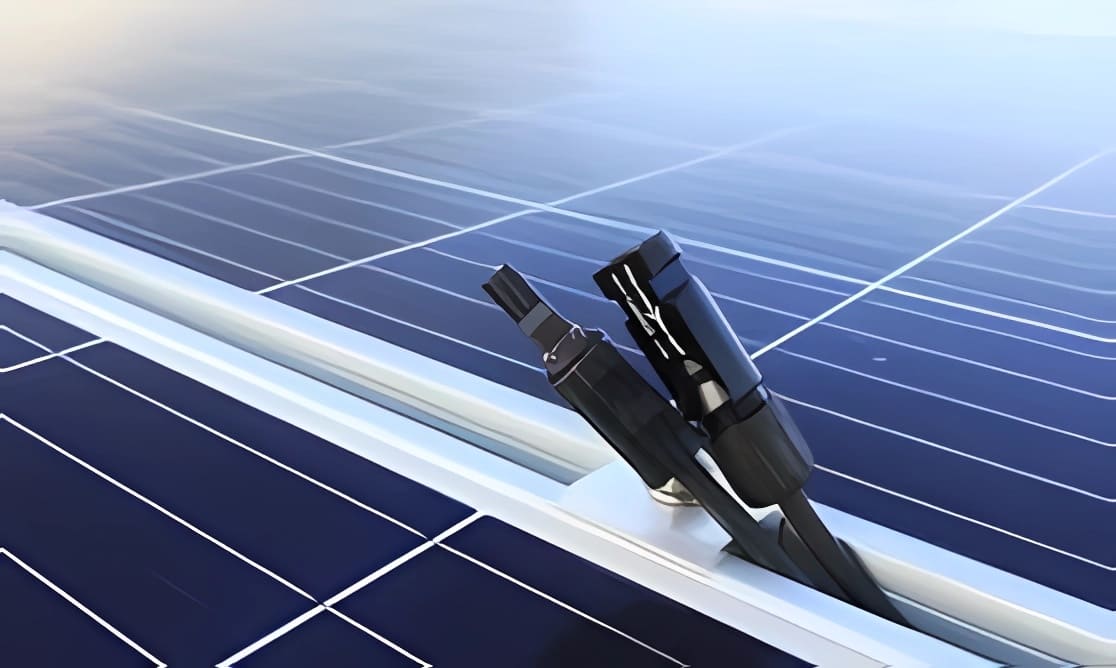
On the solar panel side
With them, we refer to the devices that secure the conductor to the solar panel. In this case, you should use MC4 connectors, also known as Multi-Contact 4-point connectors or ‘solar connectors.’
Remember that, even if you want your photovoltaic system to be cheap, you must invest in these connectors, no matter what.
Additionally, they offer multiple advantages, such as a secure, durable, and reliable connection under adverse weather conditions. For these reasons, they are commonly used for solar connections.
Now, since you will only be using one panel, a simple connector will be sufficient, and it is the most economical of these elements.
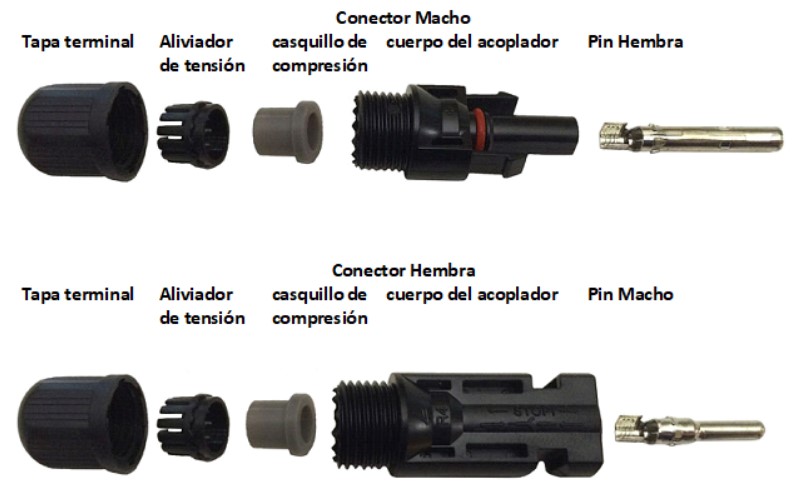
These connectors have two parts, a male and a female. The male part goes on the conductors, and generally, the female part is already incorporated into the solar panel, specifically in the Junction Box. So, you probably only need to purchase the male connector.
However, it is important that the connection to the cable be made by a professional since it requires specific tools. Keep in mind that you need to purchase two, one for each cable, positive and negative. Below, we present both the male and female connectors.
And at the other end of the cable?
At the other end of the cable, we will use a solid-tip connector. This is because we will connect it to the solar charge controller. You can see them in the image below.
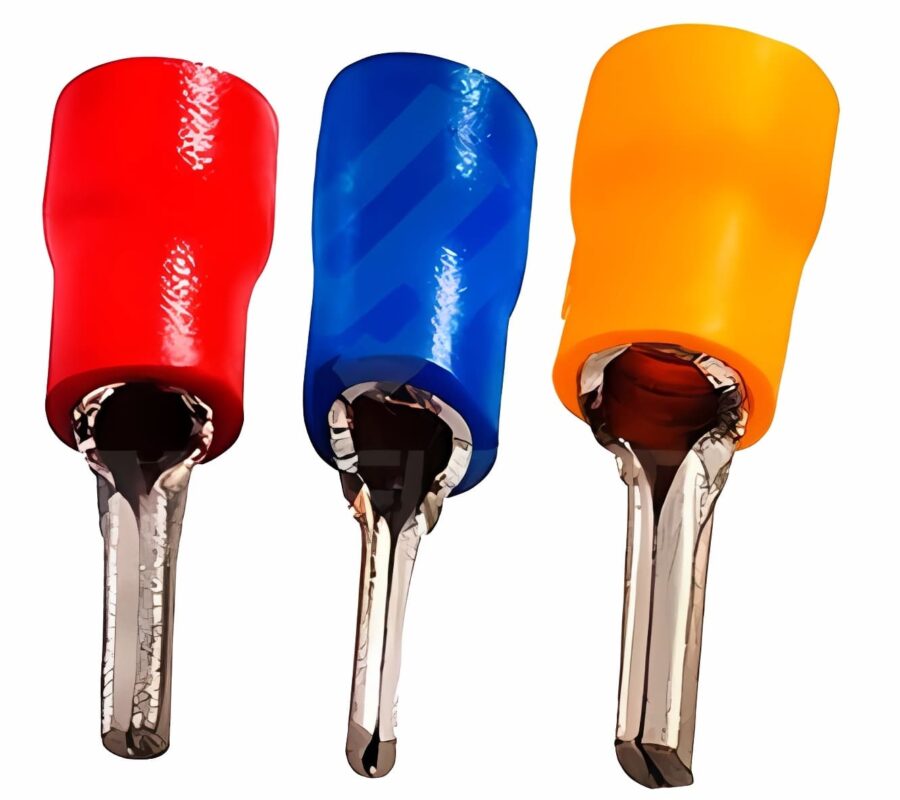
With them, you will have a secure fastening of the cable to the solar charge controller. Now, regarding the cost of the terminals we have talked about. They are about $5 per pair for MC4 or solar connectors and $0.1 for solid tip connectors.
There is an additional connection that would go from the controller to the battery if you decide to install the latter. But this connection will depend on the terminals. We explain this in our article that deals with Batteries in cheap photovoltaic systems.
In our next post, we will cover the Solar charge controller and the inverter for your cheap photovoltaic system. Don’t miss it!
For the most comprehensive and best information on solar energy and AC/DC systems, check out the blog on the energydcac website. Visit us and see!