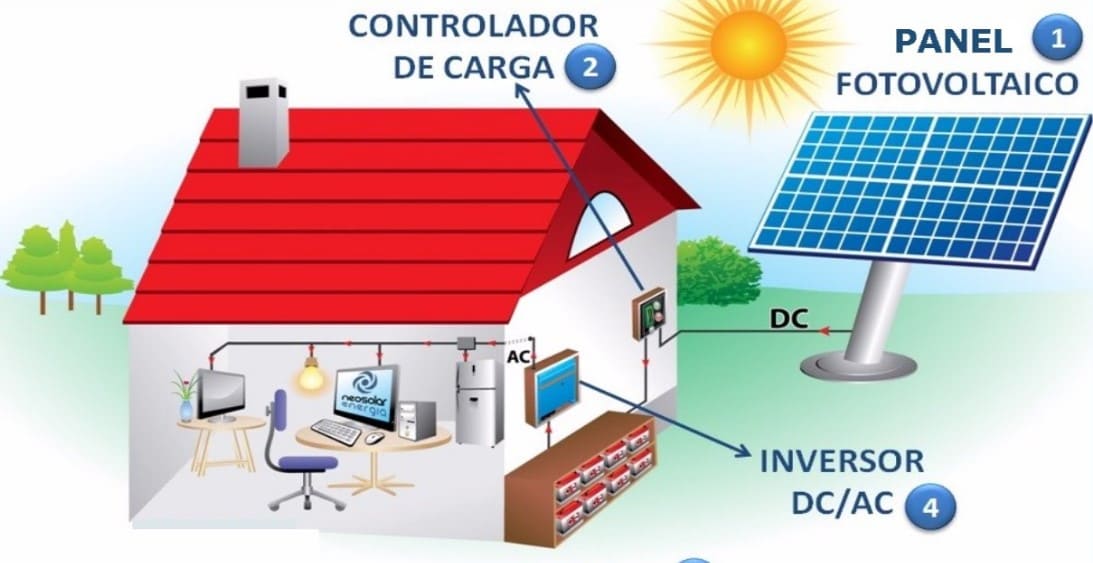
To all of us, having a photovoltaic system in our homes is desirable due to the multiple benefits it provides. However, we are aware that a significant investment is required for this. But don’t worry! We will show you an affordable solar power system that you can install in your home.
We will start with the selection of the solar panel and the wiring from it. However, the system will have some restrictions that we will name for you below.
Nevertheless, it is a good start for you to begin enjoying its benefits right away. Its main differentiating factor is that none of its parts will be fixed.
In other words, you can place them in one location and later move them without the need for construction, making it more versatile for you. This way, you can take it anywhere without acquiring a portable system, which would be much more expensive.
Let’s see what this affordable system consists of, starting with the solar panels and the wiring.
Loads to power
In this regard, we will consider the essential equipment you need to have in case of a temporary power outage. So, here is an example presented in the form of a list.
- 1 Laptop: 100 W
- 2 Cellphone chargers at 20 W each: 20 x 2 = 40 W
- 1 WIFI Router: 20 W
- 5 Light bulbs at 12 W each: 12 x 5 = 60 W
- 1 TV: 100 W
The sum of these loads results in 320 W; this would be the value you can work with. You could remove some loads to add others, as long as you respect this maximum power value.
However, in this post, our limit value will be 320 W. As you may have noticed, you won’t be able to connect inductive loads or those with motors to this affordable system. Among them are washing machines, blenders, mixers, and others of a similar nature.
Now, let’s take a look at the solar panel and wiring for the affordable solar power system for your home
Let’s select the equipment with which you will meet this demand for your affordable solar power system.
The solar panel

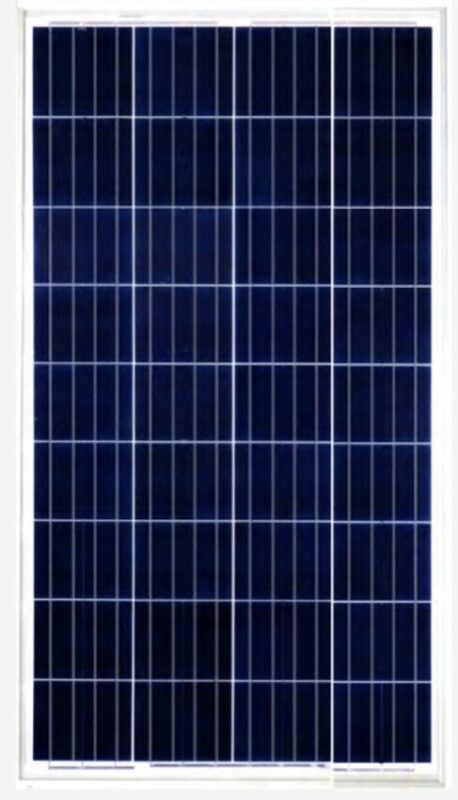
Our affordable solar power system will be composed of a single solar panel. So, the first step is to acquire a solar panel to meet the power demand of 320 W, leaving a 25% reserve.
PPANEL = 320 X 1.2 = 400 W
This reserve is not for connecting additional loads but to anticipate increases in the consumption of the already connected equipment.
Therefore, you should purchase a 400 W solar panel with a maximum output of 18 V. This will be achieved thanks to the solar charge controller.
It is important to select a panel with a minimum output voltage of 18 V. This will be the DC voltage it supplies under high solar incidence. If the solar incidence is lower, the voltage will always be above the nominal voltage.
Let’s talk about selecting a panel with a maximum of 12 V. Here, without the maximum solar incidence, it will give you less than 12 V DC output. This can lead to battery recharge issues, if present, and may go beyond the working range of the inverter.
In this case, you will be left without electricity. Regarding technology, you can choose either monocrystalline or polycrystalline types.
The former is more expensive but offers better performance. The cost difference between the two is around $20 to $50, depending on factors such as quality, manufacturer, among others.
Our post Solar panels: what you need to know before buying provides more details. Now, let’s assume that the solar panel will cost you around $320.
One last thing, don’t waste time building «homemade solar panels,» as instructed online. These are deceptive projects that never work and will only waste your time and money
The wiring from the solar panel to the solar charge controller

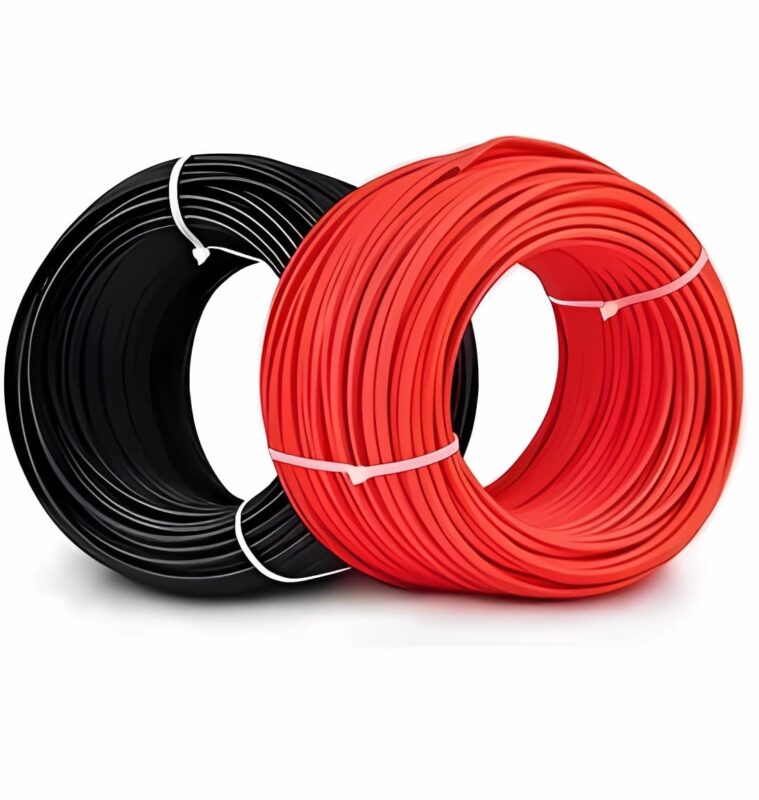
It’s best to select a cable whose conductor is designed to handle at least 1000 W or 80 A at 12 Vdc. This is equivalent to a 4 AWG gauge conductor or 41700 CM in the most commonly known gauges, with a section of 21.15 mm2.
Make sure it is multistrand for flexibility; the material can be either copper or aluminum. With any of these characteristics. You can request it from the seller.
Regarding its length, it will depend on the location of the solar panel in relation to the solar charge controller. For a house, you could estimate around 15 meters. But remember, as there are 2 poles, you should buy double the length.
So, for our recommendation, it would be 30 meters, and prefer insulation like THHN or another that withstands moisture well.
As it is likely to get wet when it rains, it also requires that one strip be red and the other black. The latter is to clearly differentiate the positive pole (red) from the negative pole (black).
The approximate cost per meter ranges between $2 and $3 depending on the brand, quality, and insulation. So, you can estimate around $80 for the cable.
In our next article titled Connectors for an affordable solar power system for your home we continue with this topic. This is so you can have your ecological energy without major investment.
In the energydcac blog, you will find very interesting and enriching content on this topic. Don’t miss out on reading it!


Insightful piece